It is said that Shen Nong, the mythical, ancient emperor of China, was drinking a cup of hot water when a tea leaf fell into it. Now, most people would toss their drink and get a new one, but Shen Nong was a different breed. In the most culturally significant moment of “screw it”, he took a sip anyway. At that moment, tea was born.
The rest, of course, is history—a long, bloody history where entire communities were destroyed over control of the main ingredient for hot leaf water. Nowadays, you don’t need to destabilize an overseas country to get your morning cuppa. Just take some hot water from your coffee machine and toss a tea bag in it. Done. While you’re at it, you can microwave some flour and call it bread.
But say you want to take it a step further. Perhaps you want to become that one friend who’s obsessed with a niche hobby. We’ve already covered coffee making here at Trill, so for those willing to attempt all of the hot beverage arts, here are some tips.
What You’ll Need
Kettle: Boiling water is one of humanity’s oldest practices, second only to dying of water-borne illnesses. There’s nothing wrong with your standard stove top whistling kettle, but you’ll find more convenience and versatility in an electric kettle with temperature control. Not only are they quicker to warm up, but certain teas are preferably brewed at specific, non-boiling temperatures. Mine is a Cosori Digital Glass Kettle, which I do recommend, but there are plenty of good alternatives out there.
Water Filter: I know what you’re thinking: “This guy really thinks that tea is too good for tap water?” Now, I’m not an elitist snob, gatekeeper, or anything like that. But yes. Yes, it is. Tap water has trace amounts of calcium and magnesium in it. Not bad for you, but for your kettle–you’ll have to descale it more often. More importantly, the tea tastes a whole lot better.
Brewing Vessel: There’s nothing wrong with using tea bags, in fact, I still occasionally use them for convenience. For this process, however, you’ll want a teapot with a removable strainer. If that’s out of your price range, you can opt for a large mug instead, but the removable strainer is a must. Whether it’s a teapot or a tea-making mug, be sure to purchase them from reputable manufacturers since there’s a lot of lead-laden teaware out there.
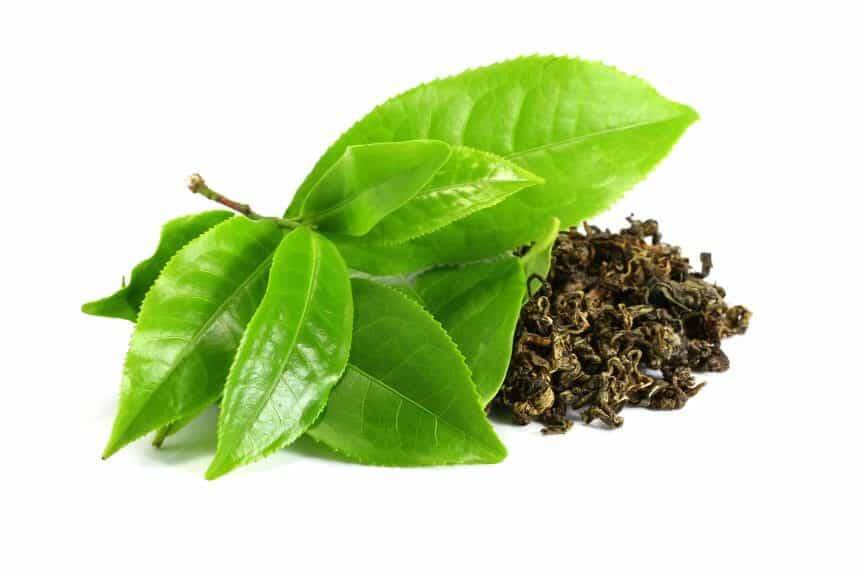
Loose-Leaf Tea: And, of course, a tin of your favorite dried camellia senensis. If you live in a metropolitan area, you can find loads of this stuff in the Asian immigrant community, where import stores are bountiful. Otherwise, you can order it online. I personally prefer 20 oz. tins of standard teas, such as Assam or Silver Needle, but others might prefer a classic blend like Earl Grey or English Breakfast.
The 8-Step Process
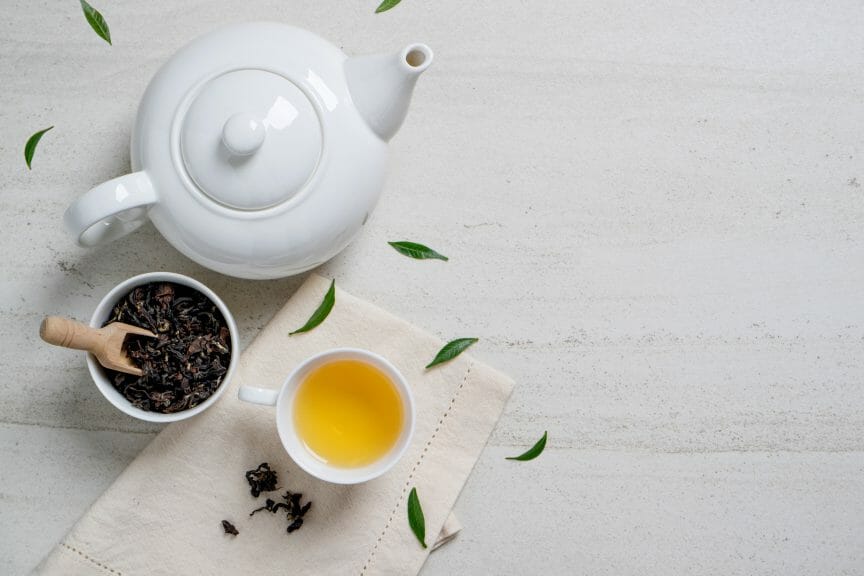
- Remove the strainer from your teapot (or mug) and measure out one teaspoon per every 8 oz (230 ml) of volume your brewing vessel can hold. Alternatively, you can also use a tea scale to measure the specific grams of tea per milliliter. If you have one of these, congratulations on being the biggest tea nerd in the room.
- Pour filtered water into your kettle. Ideally, you should be pouring 1-2 cups (230-460 ml) more than the maximum volume of your brewing vessel.
- If your kettle has temperature control, set it to your tea’s preferred temp. You can find this on tea packaging or with a quick Google search. Otherwise, just boil the water.
- When the water is done heating up, carefully pour those extra 1-2 cups (230-460 ml) into the brewing vessel. The strainer should still be removed from the brewing vessel. We’re doing this to heat up our brewing vessel before we start brewing any tea. Otherwise, the teapot might cool the water to an unacceptable temperature upon brewing.
- After waiting 1-2 minutes, empty your heated brewing vessel, insert the tea-filled strainer, and fill it with hot water.
- Set a timer and wait. The optimal brewing time depends on the tea, which may be displayed on the packaging or with a quick Google search. Brewing time is important, for if we brew for too long, the tea becomes bitter. If we brew for too short, the tea is less flavorful.
- Remove the strainer as soon as the timer runs out.
- Pour your first cup of tea and wait for it to cool. Or you can be like me and chug that mug down immediately, esophagus be damned.
Additional Tips
- When you’re done with your first brew, don’t toss the tea just yet! Tea leaves can be re-brewed several times, depending on the tea.
- Used tea leaves can sit out for about a day at room temperature before becoming unsafe to use, but opinions vary wildly on this. Brew used tea at your own discretion.
- I know I’ve stressed about having the exact measurements for this and that, but don’t be afraid to experiment with the tea/water ratio and brewing time.
- Pour any tea you don’t finish into a container and stick it in the fridge to enjoy iced tea the next day.










Lora Lewis
August 27, 2023 at 8:09 pm
Great read!!