If there’s one beauty trend that gets me all excited, it’s those fabulous fluffy brows, you know?
And guess what?
Achieving that full, luscious look for your brows is a total game-changer, and it’s all thanks to eyebrow lamination.
I’ve chatted about this magical process on my Insta countless times, but after being bombarded with questions, I thought, “Hey, let’s dish out all the deets in a full-blown blog post!” So, here it is, folks, everything you gotta know about my new beauty obsession: Brow Lamination.
Alrighty, let’s dive straight into the good stuff. In this bloggy adventure, I’m spilling tea on brow lamination.
We’ll cover the whole enchilada, from the nitty-gritty process to the price tag, recovery time, TLC aftercare, who should hop on this brow express, and, of course, you’ll get to feast your eyes on my stunning before-and-after snapshots.
So, sit tight, fam, ’cause it’s gonna be a wild ride!
What’s the Buzz About Eyebrow Lamination?
Brow lamination, AKA the eyebrow perm, is the real MVP in today’s beauty scene. Seriously, it’s right up there with lash lifts in terms of the salon crowd’s faves.
The best part? It’s nowhere near as invasive (or ouchy) as microblading. With lamination, you can flaunt fuller brows without breaking the bank or going through the pain.
Brow Lamination: Unpacking the Magic
So, what’s the deal with brow lamination, you ask? Well, it’s like a mini science experiment for your brows. It involves a chemical wizardry that lifts those unruly hairs, no curling, just some serious hair management. The result? More volume and texture, baby! It’s like a brow makeover without the heavy lifting.
No Pain, All Gain
Now, here’s the kicker. Unlike microblading, where you practically tattoo new brows onto your face (yikes!), lamination keeps it chill. No needles, no fuss. Just pure, unadulterated brow goodness.
Long-Lasting Love
With some tender loving care, your laminated brows can keep their groove for a solid 6-8 weeks. Pretty darn impressive, right? And the best part? It looks au naturel.
Before and After Eyebrow Lamination Chronicles
Alright, buckle up, folks, ’cause we’re getting into the nitty-gritty of how this magic happens. When I strut my stuff into the brow sanctuary, here’s the scoop on what goes down:
Step 1: Threading, Baby!
I let the brow whizzes work their thread magic to shape and trim my brows to perfection. I grow my brow babies out a bit beforehand so they can work their tweeze or thread sorcery and create the ideal brow canvas.
Step 2: Lifting Cream: Get Ready to Lift!
We kick things off with a lifting cream that gets slathered and brushed through my brow region. This stuff is like a hair whisperer, making those strands more bendy and flexible. Plastic wrap makes sure they stay put while the magic happens.
Step 3: Neutralizer: Lock and Load!
Next up, we hit ’em with the neutralizer. This chemical superhero locks those brows into their newfound, voluminous glory. It’s like giving your brows a spa day.
Step 4: Nourishing Oil: Show Some Love!
After all those chemicals, we wrap it up with a nourishing oil to bring back the shine and moisture to my brows. Gotta keep ’em looking fierce!
Step 5: Tinting: The Cherry on Top
Now, this part isn’t standard, but I’m all about it. Post-lamination, I get my brows tinted. Some of my lighter, grayish brow hairs can make it seem like I went a bit overboard with the tweezers. Tinting evens things out. It’s not the norm for lamination, but I swear by it!
The Price Tag: How Much Is This Glam Journey?
Okay, let’s talk moolah. Brow lamination costs can vary depending on where you get it done. For me, it’s about $90 for the whole shebang, including threading, lamination, and tint. If you’re just in for the lamination and shaping gig, it might set you back a bit less.
TLC for Those Laminated Brows
After the lamination, it’s all about that post-treatment TLC.
- No Splish-Splash for 24 Hours: Post-lamination, avoid water like the plague. No showers, no face-washing, nada. You gotta let those chemicals do their thing without any interruptions.
- Hands Off!: Keep those paws away from your brow area for a day. Let the magic work its mojo without interference.
- Brow Makeup Ban: Steer clear of any makeup on your brows. It’s all about keeping those brows untouched, my friend. I usually skip makeup altogether during that crucial 24-hour period.
- Brush Those Brows: Once you’ve hit the 24-hour mark, it’s back to business as usual. But remember, you gotta maintain those brows. Get yourself some clean spoolies for that morning fluff ‘n’ buff, and keep ’em handy all day.
- Tinted Brow Caution: If you opt for brow tinting, be prepared for some serious darkness initially. It mellows out once you wash your face, promise.
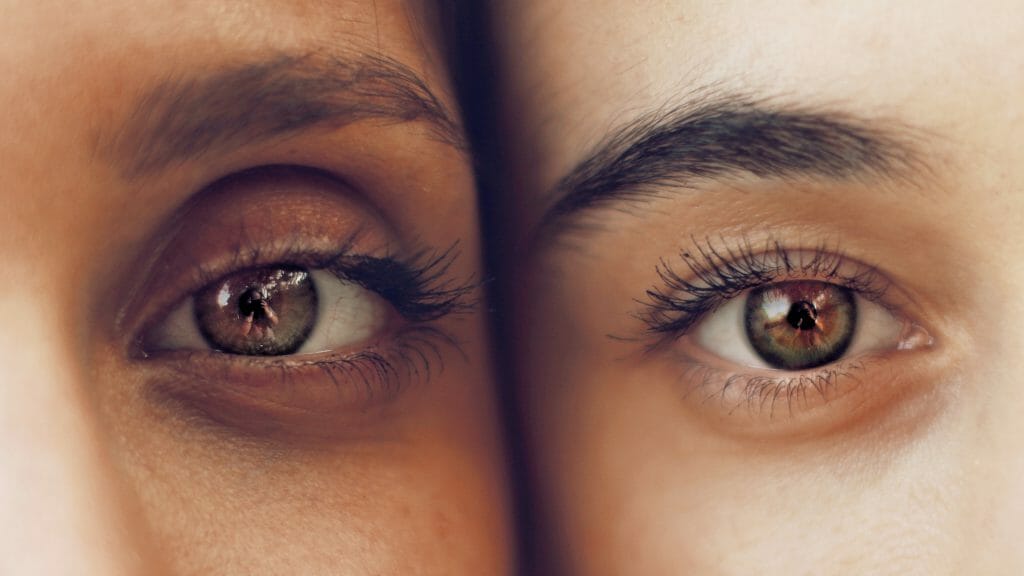
Brow Lamination Before and After: The Big Reveal!
Alright, here’s the juicy part, folks: the before-and-after shots. On the left, you’ve got my regular, un-laminated brows—decent but kinda meh, right? Then, BAM! Look at the right side. Those brows are poppin’! No brow gel or product, just a little spoolie action in the morning, and voilà!